
A hole in the drywall, a shelf that leans, a bathroom joint that has turned black: most DIY tasks at home do not require exceptional skills. They mainly require method. Preparing the right materials, understanding what you are handling, and following a few safety rules is enough to turn a stressful job site into a clean and lasting result.
Electrical work at home: what you can do yourself and what requires a professional
Changing a switch, installing a surface-mounted outlet, or replacing a light fixture are all accessible tasks as long as you turn off the main circuit breaker beforehand. As soon as you open the box and discover unmarked wires, the connection deserves methodical verification before any handling. In home DIY, the line between what is accessible and what requires a professional is not always clear, especially in electricity.
Always check for the absence of current with a voltage tester before touching a wire, even after turning off the circuit breaker.
The electrical standard NF C 15-100, updated in 2024 with application in 2025, introduces new requirements such as surge protection in certain renovation cases. If your project involves creating a new circuit, modifying the electrical panel, or running cables in the walls, it clearly falls under the responsibility of a qualified electrician. You will find useful guidelines in the DIY guide on Bricotronique to distinguish simple interventions from regulated projects.
The DIYer works on the existing, the professional modifies the installation. This dividing line avoids most serious mistakes.
Choosing your DIY tools: quality over quantity
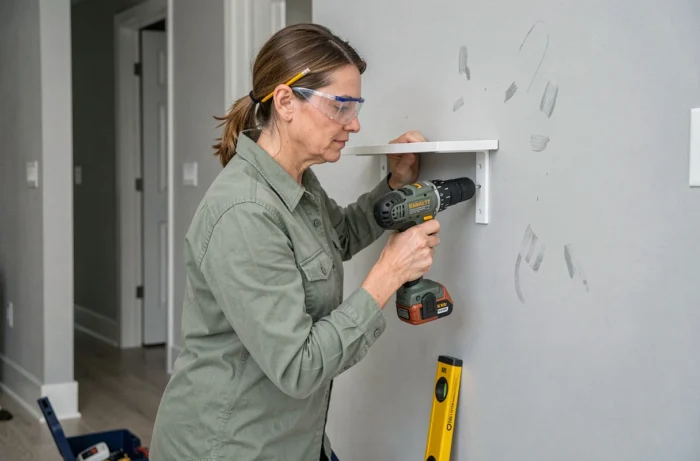
The classic mistake of the beginner DIYer is to buy a low-cost set of fifty pieces. Six months later, the drill struggles, the bits deform, and the level gives approximate measurements.
It is better to build a small toolbox with reliable equipment. Why this choice? Because a good tool forgives the approximations of movement, while a mediocre tool exacerbates every inaccuracy.
- A cordless drill-driver of at least 18 volts, with variable speed and adjustable torque, covers most domestic uses (screwing, drilling wood, drywall, and light metals).
- A five-meter tape measure and a good-quality level prevent discrepancies that propagate from one room to another.
- A set of flat and Phillips screwdrivers with magnetic tips, a carpenter’s hammer, and a pair of pliers complete the basics.
- For wood, a Japanese saw (which cuts on the pull) offers more precision than a traditional saw, with less effort.
Five quality tools are worth more than thirty fragile tools. When a tool withstands use, you gain confidence, and confidence improves your technique.
Preparing your DIY project: mistakes that cost money
Preparation often accounts for half the time of a successful project. Before touching a brush or a screw, three steps deserve your attention.
Measure twice, cut once
This old adage exists because most DIY re-dos come from a hasty measurement. Take each measurement twice, with the same instrument. Mark your points with a carpenter’s pencil, not with a ballpoint pen that smudges on wood.
If you are cutting a board, leave the cut line visible on the waste side (the part you are not keeping). The thickness of the blade takes away a few millimeters: cutting on the wrong side of the line will result in your piece being too short.
Protect the area before starting
Putting down a tarp on the floor, using masking tape on the baseboards, and moving nearby furniture takes about twenty minutes. Cleaning paint splatters off a hardwood floor or plaster from the grooves of a piece of furniture takes much longer.
For painting, applying masking tape on a clean, dry surface ensures a sharp line. On a dusty surface, the tape adheres poorly and paint seeps underneath.
DIY safety at home: protections that make a difference
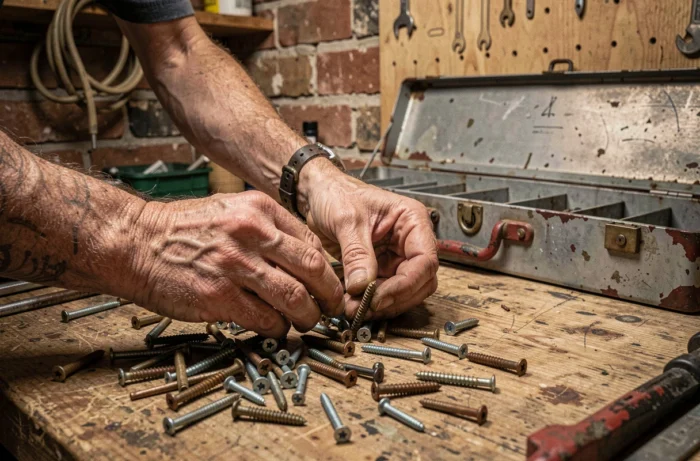
Prevention guides published in 2026 remind us that personal protective equipment is not a bonus, even for small domestic operations. A metal shard in the eye while drilling, a deep cut with a cutter, a skin reaction to a stripper: these incidents occur in the first minutes when one feels confident.
- Safety glasses for any drilling, sanding, or cutting, even brief.
- Gloves suitable for the material: thin nitrile gloves for painting and chemicals, thick gloves for handling raw wood or metal.
- FFP2 dust mask as soon as you sand wood, plaster, or handle fiberglass.
Wearing safety glasses takes three seconds and prevents a trip to the emergency room. The reflex develops quickly if the equipment is stored with the tools, not in a separate closet.
Repair rather than replace: a sustainable DIY reflex
The right to repair has been strengthened at the European level in 2026, promoting repair over replacement for several categories of household appliances. This regulatory context aligns with a pragmatic DIY logic: before buying new, check if the problem is repairable.
A dripping faucet often just needs a simple O-ring. A sticking drawer requires a bit of wax on the slides. Most common household breakdowns can be resolved with a visual diagnosis and a part costing a few euros.
Get into the habit of looking for the exact reference of the faulty part before heading to the store. A photo of the component, the model of the appliance, and its dimensions are usually enough to find the right replacement.
DIY at home progresses through the accumulation of mastered gestures, not through spectacular projects. Each successful repair, each clean cut, each repainted wall without drips builds real skill that transfers from one project to another.